Mannequins


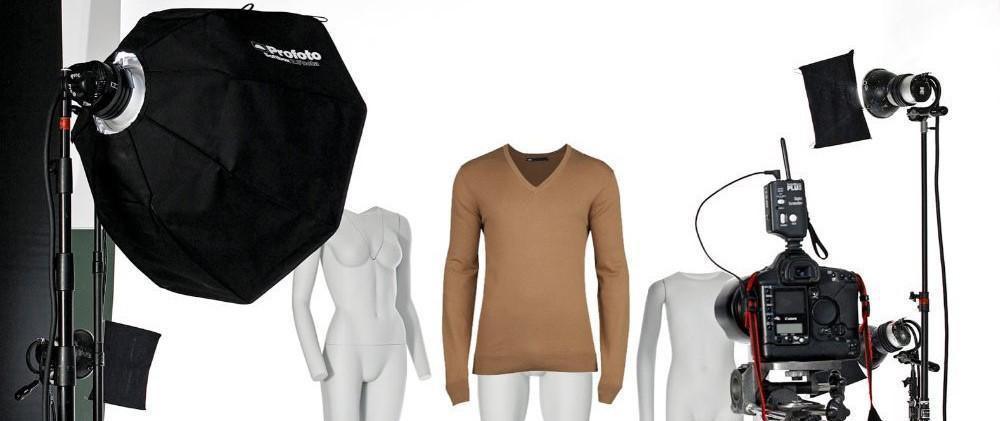

Photo-shooting T-Shirts On Ghost Mannequins
T-shirts are an important part of any fashion retailer’s collection because they are a simple and timeless choice that can be easily combined to various outfits. However, when you want to photograph T-shirts, you should take your options into consideration, as photographing them flat lay, they lose their appeal. Therefore, it is recommended to photograph T-shirts on ghost mannequins, so you get a 3D look of them.

When photographed on a ghost mannequin, a T-shirt looks as if an invisible person were wearing it. If you are new in this domain, then you are in the right place, as here we’re going to show you how to photograph a T-shirt on a ghost mannequin to get the desired 3D effect.
If you have already worked with various editing software, you probably now think that there are enough tricks to do to get the image you want. However, no matter what software you would use, it will not create the same 3D effect as a ghost mannequin offers. So using a ghost mannequin gives you the desired effect, making your T-shirt look as if it is being worn by an invisible person. To make the mannequin be invisible in the final shot, you need to remove arm and chest pieces, as needed for the chosen T-shirt.
If you choose to work with photo editing software to achieve the invisible man effect, you would spend a lot of time. Instead, you should rather use a ghost mannequin, and you will save time and get a better result.
Before you start your photo shooting of the T-shirt, you need to get a few things:
- You probably know what camera to use to get your best photos, which will look professional.
- Studio lighting. You are recommended to use continuous cool LED lamps to ensure consistent exposure, shadows, and contrast.
- T-shirt. You obviously need at least one T-shirt, right?
- A ghost mannequin. You need to have a mannequin with removable chest and arm pieces, to make it become invisible in-shot.
- Styling clips and pins. You will use these to get a more fitted look of your T-shirt.
Now that you gathered everything you need for the photo shooting session, it is now the time to start shooting. There are a few steps you need to follow for this process.
- Remove the arms and chest of the ghost mannequin.
The shape is one of the most important aspects when it comes to styling T-shirts. An athletic-looking mannequin helps you get a more appealing look of your tee. Get your mannequin ready for dressing, by pulling off the pieces.
- Dress your mannequin.
Simply put the T-shirt over the torso. Before you start styling, reattach the arm and shoulder pieces.
- Style the mannequin’s arms and shoulders.
It is possible that some of the fabric will be pinched under the shoulder. Make sure there are no strange looking creases, by pulling the material out. When you finished arranging the T-shirt on the mannequin, make sure the shoulders are aligned symmetrically.
- Arrange the T-shirt on the mannequin.
Pull the tee taut and remove any creases. Make sure it has no creases anywhere, and it is fit to the mannequin’s body.
- Shoot
Leave a comment
Comments will be approved before showing up.