Mannequins


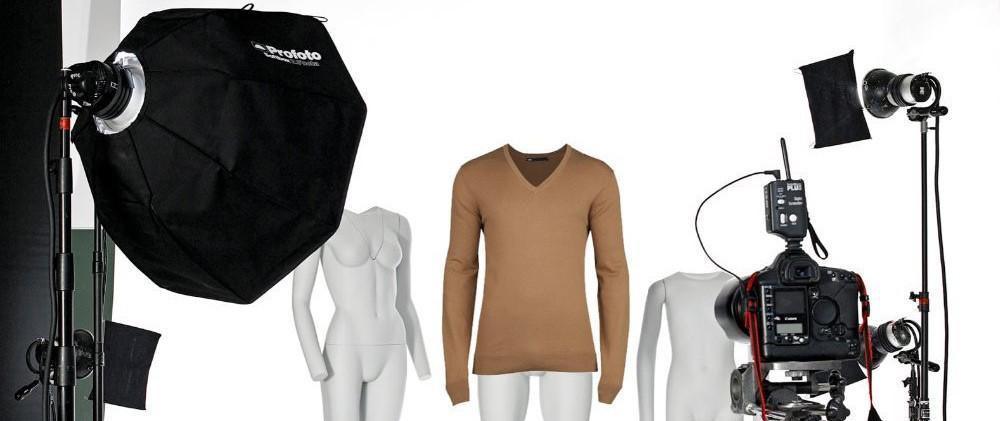
Photo-shooting Blazers On Ghost Mannequins
Maybe you are a beginner in the ghost photography niche, or you are getting ready for your first shoot for a blazer. Either way, before you start taking photos of a blazer, you need to know how to do it, to make sure the photos are great.

It is great to shoot blazers on a ghost mannequin due to the range of styles and the importance of seeing the inner lining and fit. However, to get the desired result, you need to follow some steps. Your main goal when shooting blazers is to get the final effect as if an invisible man were wearing the blazer in your photo.
It is possible that your first thought was that you could do some tricks in an image editing software to get the desired effect. Well, you could, but the result is much better when you use a ghost mannequin for this job. When you use a ghost mannequin, you are sure to get the effect of the blazer being worn by an invisible person. This effect is also known as the hollow man effect. To get this effect, you need to remove arm and chest pieces, so the mannequin won’t be visible in the photo.
Using a ghost mannequin helps you cut the time it would take you to achieve the hollow man effect using an image editing software. To obtain this effect without using a ghost mannequin, you would need to photograph the clothes inside out and then compose the two images in post-production.
Before starting the shooting session, you need to gather everything you need for it:
- Camera – although any camera is good, if you want to get a professional looking photo, you are recommended to use a Canon EOS 5D Mk III.
- Studio lighting – you are recommended to use continuous cool LED lamps, as they ensure exposure, contrast and shadows are kept consistent
- The blazer
- A ghost mannequin – you need to choose one that has removable arm and chest pieces, so it can become invisible in the photo
- Styling clips and pins – you may need to use them to give your blazer a more fitted look
Now let’s see the steps for shooting your photo of a blazer.
- Remove the right pieces from the ghost mannequin
Usually, the cuff of the blazer is quite deep, so you need to remove as much of the chest as possible, to make the inner lining visible. You also need to remove the bottom parts, so the bottom inner lining of the blazer can be shown as well.
- Dress the ghost mannequin
Once you removed all the pieces, dress the mannequin in the blazer.
- Align and straighten shoulders
Make sure the shoulders are always level with each other, as this gives a more professional look of the photo.
- Style sleeves and other details
Pull down the sleeves to make them even. The bottom of the blazer should be straight.
If you need to create a tighter fit on your ghost mannequin, then you can use styling clips and pins.
Leave a comment
Comments will be approved before showing up.