Mannequins


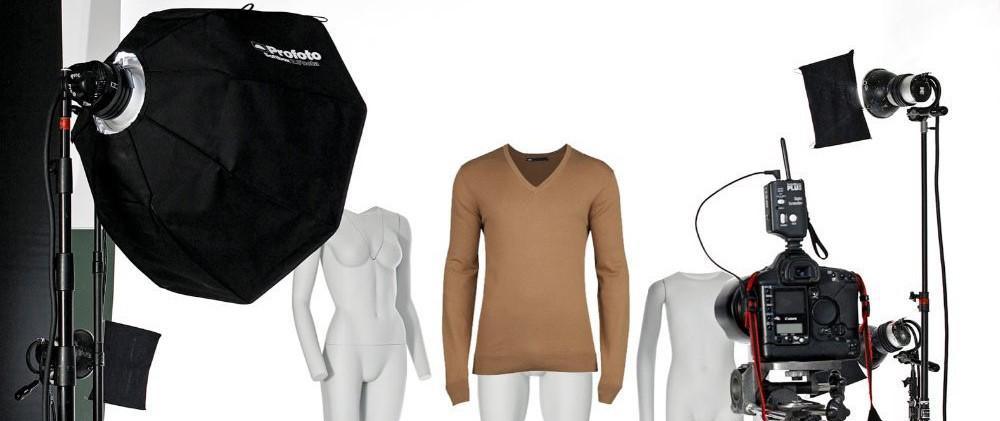

Photo-shooting Hoodies On Ghost Mannequins
Everybody loves hoodies. They are casual, comfortable, and you can wear them all year round. This is one of the reasons why most of the brands have some hoodies in their collection. But when photographed on a tabletop, a hoodie loses its appeal because it looks flat and lifeless. So the best choice when you need to photograph a hoodie is to use a ghost mannequin. This helps you to give life to the hoodie you photograph, to make it look as if an invisible person were wearing it.
 You probably think that you could obtain the same effect if you worked your photos in an image editing software. Well, you could, but the result is a bit better when you use a ghost mannequin. Besides, you save a lot of time with this, rather than using a software. All you have to do to make the mannequin not to be visible in the photo is remove its arm and chest pieces.
After you’ll finish reading this tutorial, you’ll see that it is much easier to use a ghost mannequin to shoot photos of a hoodie, than to try to get the hollow man effect in a software. So let’s see what you need to use, and then what you have to do, to get the desired effect.
First of all, let’s see what equipment you need for shooting your photos:
- Camera – you definitely want your photos to look great, so you are recommended to use a professional camera. A recommended one in this matter is the Canon EOS 5D Mk III, which is considered to be a standard for professional product photography.
- Studio lighting – lighting is essential when you have a photo session, so you are recommended to use continuous cool LED lamps to ensure exposure, shadows, and contrast are kept consistent.
- Hoodie – you can use any type of hooded jumper, whether it’s a pullover or a zip up type.
- Ghost mannequin – choose a mannequin that has removable chest and arm pieces, so you can make it become invisible in the photos.
- Styling clips and pins – they can be highly efficient if you need to give your hoodie a more fitted look.
- Tissue paper – you should use tissue paper to stuff the hood, so it gets a more rounded shape that looks better in the photo.
We suppose you got everything you need, so now it is the moment to find out which are the steps you need to follow to take your shots.
- Dress the ghost mannequin.
If you use a zipped hoodie, then you need to start by unzipping it and dress the mannequin. In the case of a pullover hoodie, just pull it over the mannequin. Make sure you pull the sleeves down and check that the shoulders are aligned evenly. Be careful to get rid of any excessive creasing.
- Level the arms.
Pay attention to the way the mannequin’s arms look in the photo. Avoid the situation when an arm is ahead of the other. Make sure the mannequin’s arms line up evenly.
- Remove the neck piece.
By removing the neck piece, you ensure that the inner lining of the hoodie is visible.
- Style the hood.
One of the essential aspects of a photo with a hoodie is the way the hood looks. So make sure it lays back nice and evenly. Use some tissue paper to stuff it, so it gets a rounded look.
- Style the drawstrings.
Most of the hoodies have drawstrings falling on the front side. You need to make sure that everything looks great in the final shot, so check that the drawstrings are even, and pull on either side of the string if this is necessary.
You are ready to shoot your photos.Leave a comment
Comments will be approved before showing up.